 This is an archive version of the document. To get the most up-to-date information, see the current version.
Step 1. Launch Restore to Azure Wizard
To begin the restore process, do the following:
- Open the Home view.
- In the inventory pane, click Backups.
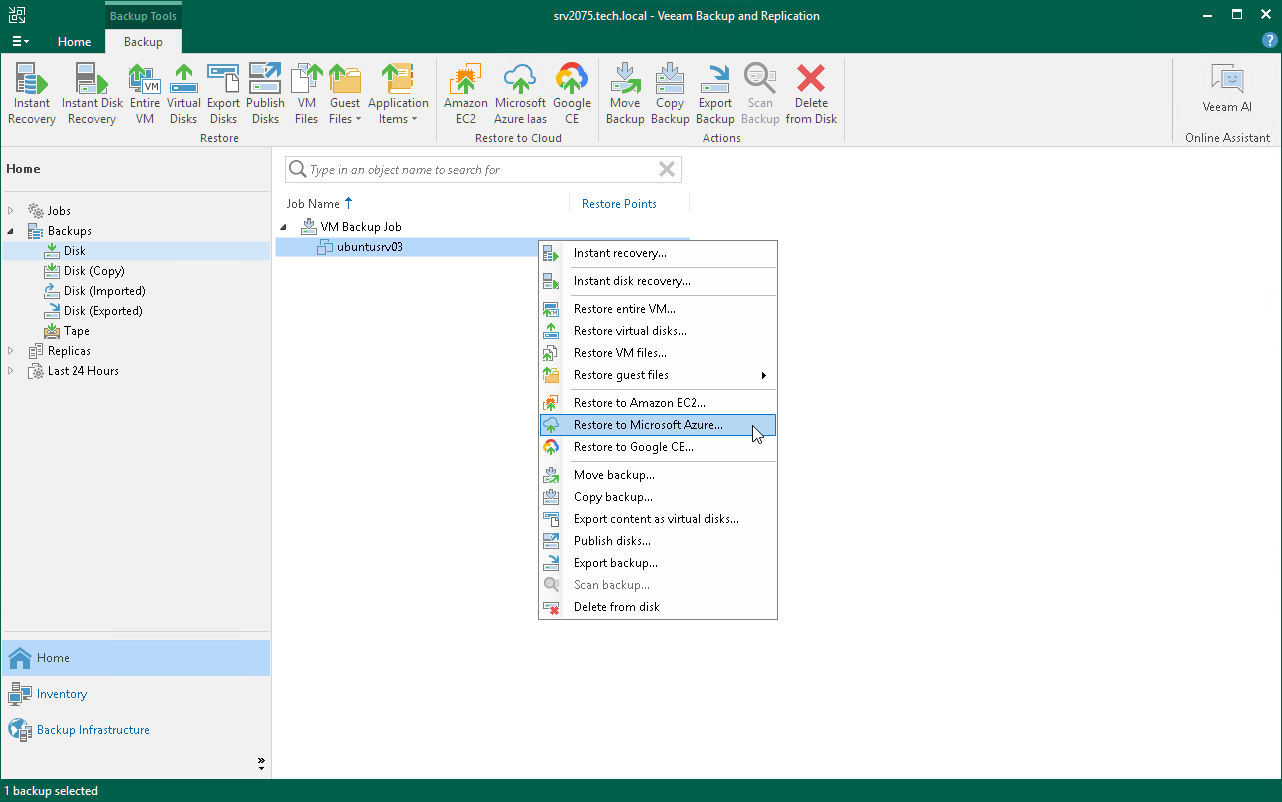
- In the working area, expand the necessary backup, right-click the machine that you want to restore and select Restore to Microsoft Azure.
In this case, you will pass to the Subscription step of the wizard.
Alternatively, you can do one of the following:
- [VMware vSphere] On the Home tab, click Restore > VMware vSphere > Restore from backup > Entire VM restore > Restore to Microsoft Azure.
- [Amazon EC2] On the Home tab, click Restore > AWS EC2 backup > Entire machine restore > Restore to Microsoft Azure.
- [Nutanix AHV] Open the Home view; click Backups; in the working area, expand the necessary backup, right-click the AHV VM that you want to restore and select Restore to Microsoft Azure.
- [Agents] On the Home tab, click Restore > Agents > Entire machine restore > Restore to Microsoft Azure.
- Double-click a full backup file (VBK) or backup metadata file (VBM) in a file browser. Veeam Backup & Replication will start its console. In the Backup Properties window, select the necessary machine and click Restore > Restore to Microsoft Azure. In this case, you will pass to the Subscription step of the wizard.
