This is an archive version of the document. To get the most up-to-date information, see the current version.
Step 5. Select VM Size
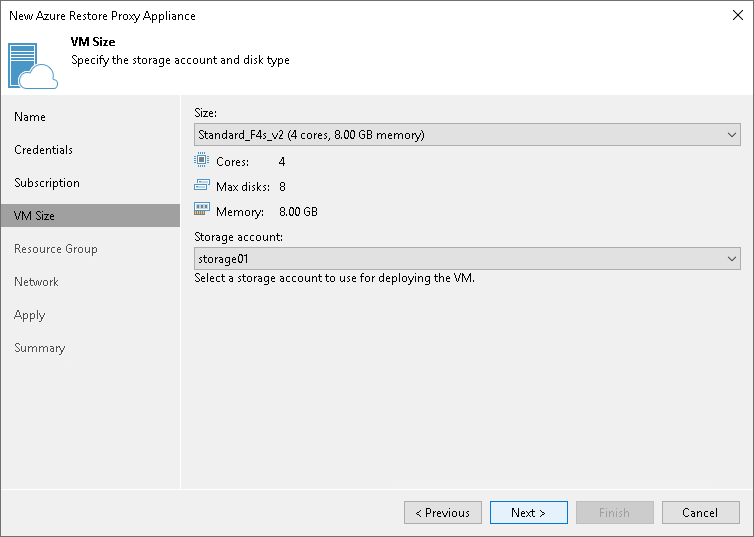
At the VM size step of the wizard, you can select the size for the Azure proxy VM and specify what storage account you want to use to deploy the Azure proxy VM.
- From the Size list, select the size for the Azure proxy.
The default size is Standard_F4s_v2. If Standard_F4s_v2 is not available, we recommend to select a similar compute optimized VM size of the previous generation — F-series. For example, Standard_F4, Standard_F4s. These sizes are sufficient to transport VM disks data to blob storage. If necessary, you can select a greater size for the Azure proxy.
If you select a premium storage account, make sure that the VM size is compatible with the selected account.
|
Azure proxy VMs created in Veeam Backup & Replication version prior 10a have smaller sizes — Basic_A2. We recommend you to change sizes of such proxies to the sizes listed above. This will enhance the performance of restore to Azure. You can change VM sizes in Microsoft Azure Portal or deploy new proxies with the required sizes in the Veeam Backup & Replication. |
- From the Storage account list, select a storage account whose resources you want to use to store disks of the Azure proxy. The storage account must be compatible with the VM size you select.
The list of storage accounts will contain only general purpose storage accounts. Blob storage accounts will not be displayed in the list of subscriptions. For more information about account types, see Microsoft Docs.
|
You cannot use a storage account with the ZRS or GZRS replication option for the Azure proxy. For details, see Microsoft Docs. |
|
Microsoft Azure subscriptions have default limits on the number of CPU cores. Make sure that the VM size you select does not exceed limits of the subscription. |