This is an archive version of the document. To get the most up-to-date information, see the current version.
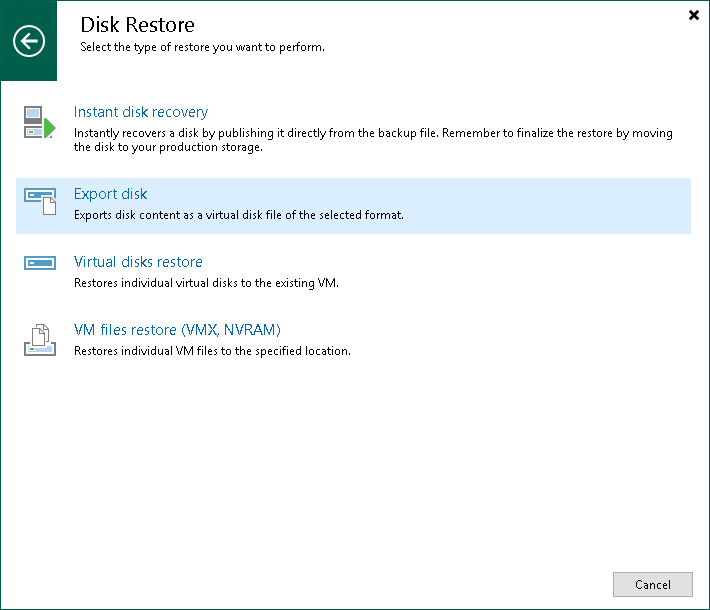
Step 1. Launch Export Disk Wizard
To launch the Export Disk wizard, do one of the following:
- On the Home tab, click Restore and select one of the following:
- Agent > Disk Restore > Export disk — to export disks of physical machines and virtual machines from backups created with Veeam Agent for Microsoft Windows, Veeam Agent for Linux or Veeam Agent for Mac.
- AWS EC2 backup > Entire machine restore > Export disk — to export disks of EC2 instances from backups created with Veeam Backup for AWS.
- Azure IaaS > Entire machine restore > Instant Recovery to VMware vSphere — to export disks of Azure VMs from backups created with Veeam Backup for Microsoft Azure.
- GCE backup > Entire machine restore > Export disk — to export disks of VM instances from backups created with Veeam Backup for Google Cloud.
- Nutanix backup > Entire machine restore > Export disk — to export disks of VMs from backups created with Veeam Backup for Nutanix AHV.
- RHV Proxy > Entire machine restore > Export disk — to export disks of VMs from backups created with Veeam Backup for RHV.
- Open the Home view. In the inventory pane, click Backups. In the working area, expand the necessary backup, select a workload whose disks you want to export and click Export Disks on the ribbon. Alternatively, you can right-click the workload and select Export content as virtual disks.