Step 1. Launch Restore to Google Compute Engine Wizard
To begin the restore process, do one of the following.
- On the Home tab, click Restore and select the type of backups from which you want to restore:
- VMware vSphere
- VMware Cloud Director
- Microsoft Hyper-V
- Agent
- AWS
- Azure IaaS backup
- GCE backup
- Nutanix AHV
- oVirt KVM
- Proxmox VE
- Scale Computing HyperCore
In the displayed window, click Entire VM restore > Restore to public cloud > Restore to Google Compute Engine.
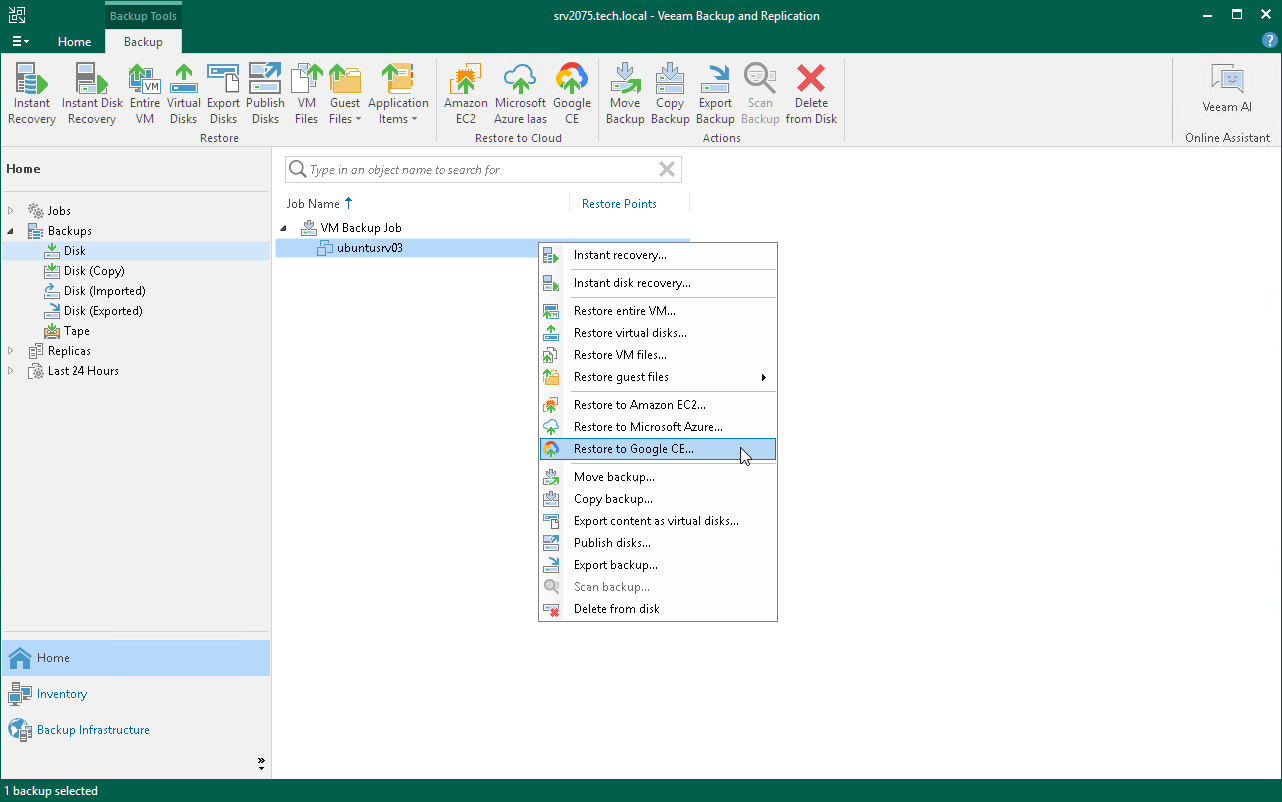
- Open the Home view. In the inventory pane, click Backups. In the working area, expand the necessary backup, select workloads that you want to restore and click Entire VM > Google CE on the ribbon. Alternatively, you can right-click one of the workloads that you want to restore and select Restore entire VM > to Google CE.