Installing CDP Agent Service and Filter Driver
To install the Veeam CDP Agent Service and Veeam CDP Volume Filter Driver on workloads, you must create a protection group and configure it to install the service and driver:
- Open the Inventory view.
- In the inventory pane, right-click the Physical Infrastructure node and select Add protection group.
- In the Add Protection Group window, select one of the following:
- Individual computers to define a static protection scope by adding specific computers to the protection group.
- Microsoft Active Directory objects to add to the protection group one or several Active Directory objects: entire domain, container, organizational unit, group or computer.
- Computers from CSV file to add to the protection group computers listed in a CSV or TXT file that resides on the backup server.
- At the Name step, specify a name and description for the protection group.
- At the Computers step, click Add.
- In the Add Computer window, do the following:
- Enter a full DNS name, NetBIOS name or IP address of the workload that you want to add to the protection group.
- Select Connect using admin credentials and specify the credentials of a user who has administrative permissions on the workload.
If you plan to use guest processing during CDP, the account must also have permissions described in section Permissions.
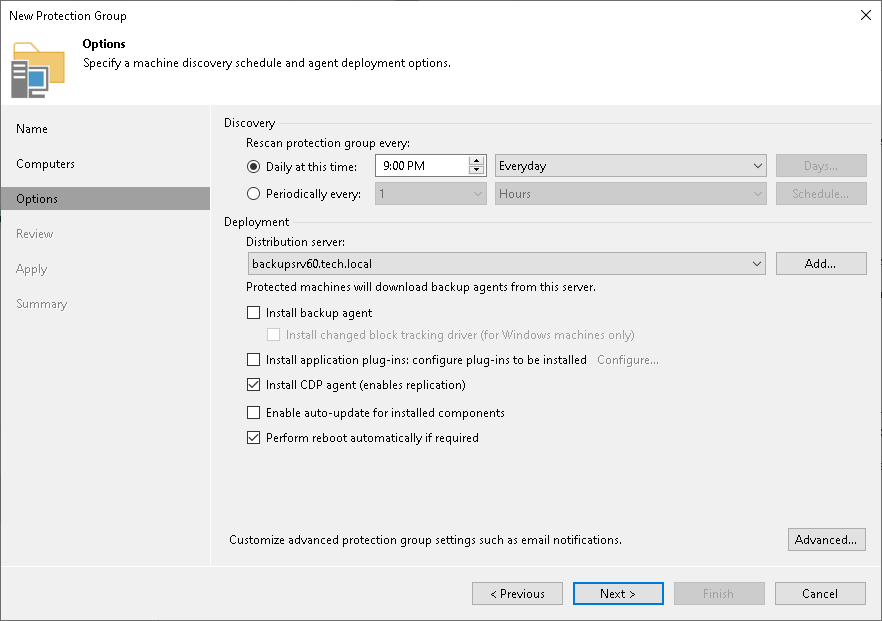
- At the Options step, do the following:
- Select Install CDP agent to install the Veeam CDP Agent Service and Veeam CDP Volume Filter Driver.
|
Important |
|
Veeam CDP Agent Service and Veeam CDP Volume Filter Driver are compatible only with the nosnap backup agent. If you plan to back up Linux workloads using Veeam Agent for Linux, make sure that the Install nosnap agent check box is selected. |
- Select Enable auto-update for installed components to keep the agent and driver updated.
- Select Perform reboot automatically if required to allow Veeam Backup & Replication to reboot the workload automatically.
|
Note |
|
For Microsoft Windows-based workloads, the universal CDP will not work until you reboot the workload after the CDP agent service and driver installation. For Linux-based workloads, reboot is not needed. |
- Click Next.
For the full description of the protection group options, see Creating Protection Group for Individual Computers, Creating Protection Group for Microsoft Active Directory Objects or Creating Protection Group for Computers from CSV File.