Managing Certificates
Users with Host Administrator permissions can manage the following certificates in the Veeam Host Management web UI:
- Host management certificate — secures the connection between the web browser and the Veeam Host Management web UI.
- Trusted certificates — allow the appliance to trust 3rd party servers and services, such as a syslog server that uses a custom TLS certificate.
|
Note |
|
Before you manage certificates in the Veeam Host Management web UI, consider the following:
|
Host Management Certificate
By default, the appliance uses a self-signed certificate. You can replace it with your own certificate or generate a new self-signed certificate to rotate the current one.
After the certificate is updated, the Veeam Host Management web UI restarts automatically and you are signed out.
To install your own certificate, do the following:
- Log in to the Veeam Host Management web UI as a Host Administrator. For more information, see Accessing Veeam Host Management Console.
- In the management pane, click Certificates.
- In the Host Management Certificate section, click Install Certificate.
- At the Certificate Source step, select Upload a new certificate and click Next.
- At the Choose Certificate step, select the certificate file in the .crt, .cer, .pem, or .der format. If the private key is in a separate file, also select the .pem key file and, if it is protected, enter its password. Click Next.
- At the Summary step, review the certificate details and click Finish.
To generate a new self-signed certificate, do the following:
- Log in to the Veeam Host Management web UI as a Host Administrator. For more information, see Accessing Veeam Host Management Console.
- In the management pane, click Certificates.
- In the Host Management Certificate section, click Install Certificate.
- At the Certificate Source step, select Generate a self-signed certificate and click Next.
- At the Generate Certificate step, enter a friendly name for the certificate and click Next.
- At the Summary step, review the certificate details and click Finish.
|
Important |
|
A custom certificate is not regenerated if the host name changes or the appliance joins a domain. Make sure the certificate contains the correct fully qualified domain name (FQDN) of the appliance. |
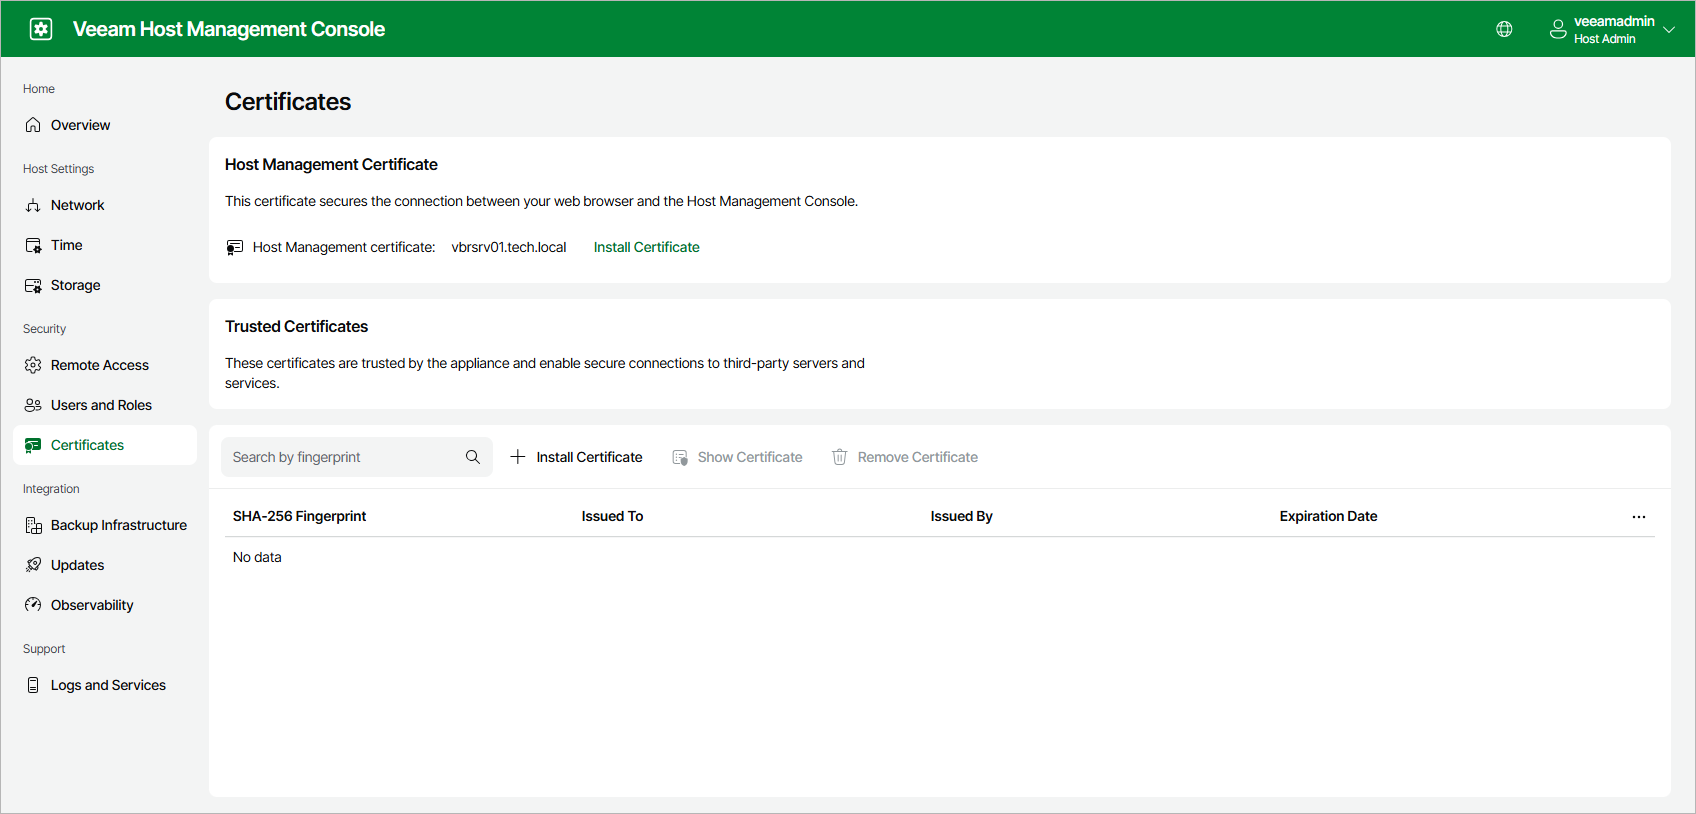
Trusted Certificates
If the appliance must connect to a 3rd party server or service that uses a certificate it does not already trust, you must add that certificate to the trusted store.
To do this, do the following:
- Log in to the Veeam Host Management web UI as a Host Administrator. For more information, see Accessing Veeam Host Management Console.
- In the management pane, click Certificates.
- In the Trusted Certificates section, click Install Certificate.
- At the Choose Certificate step, select the certificate file in the .crt, .cer, .pem, or .der format. Click Next.
- At the Summary step, review the certificate details and click Finish.
To view or remove a trusted certificate, select it in the list and click Show Certificate or Remove Certificate.
To find a certificate, enter its fingerprint in the search box.